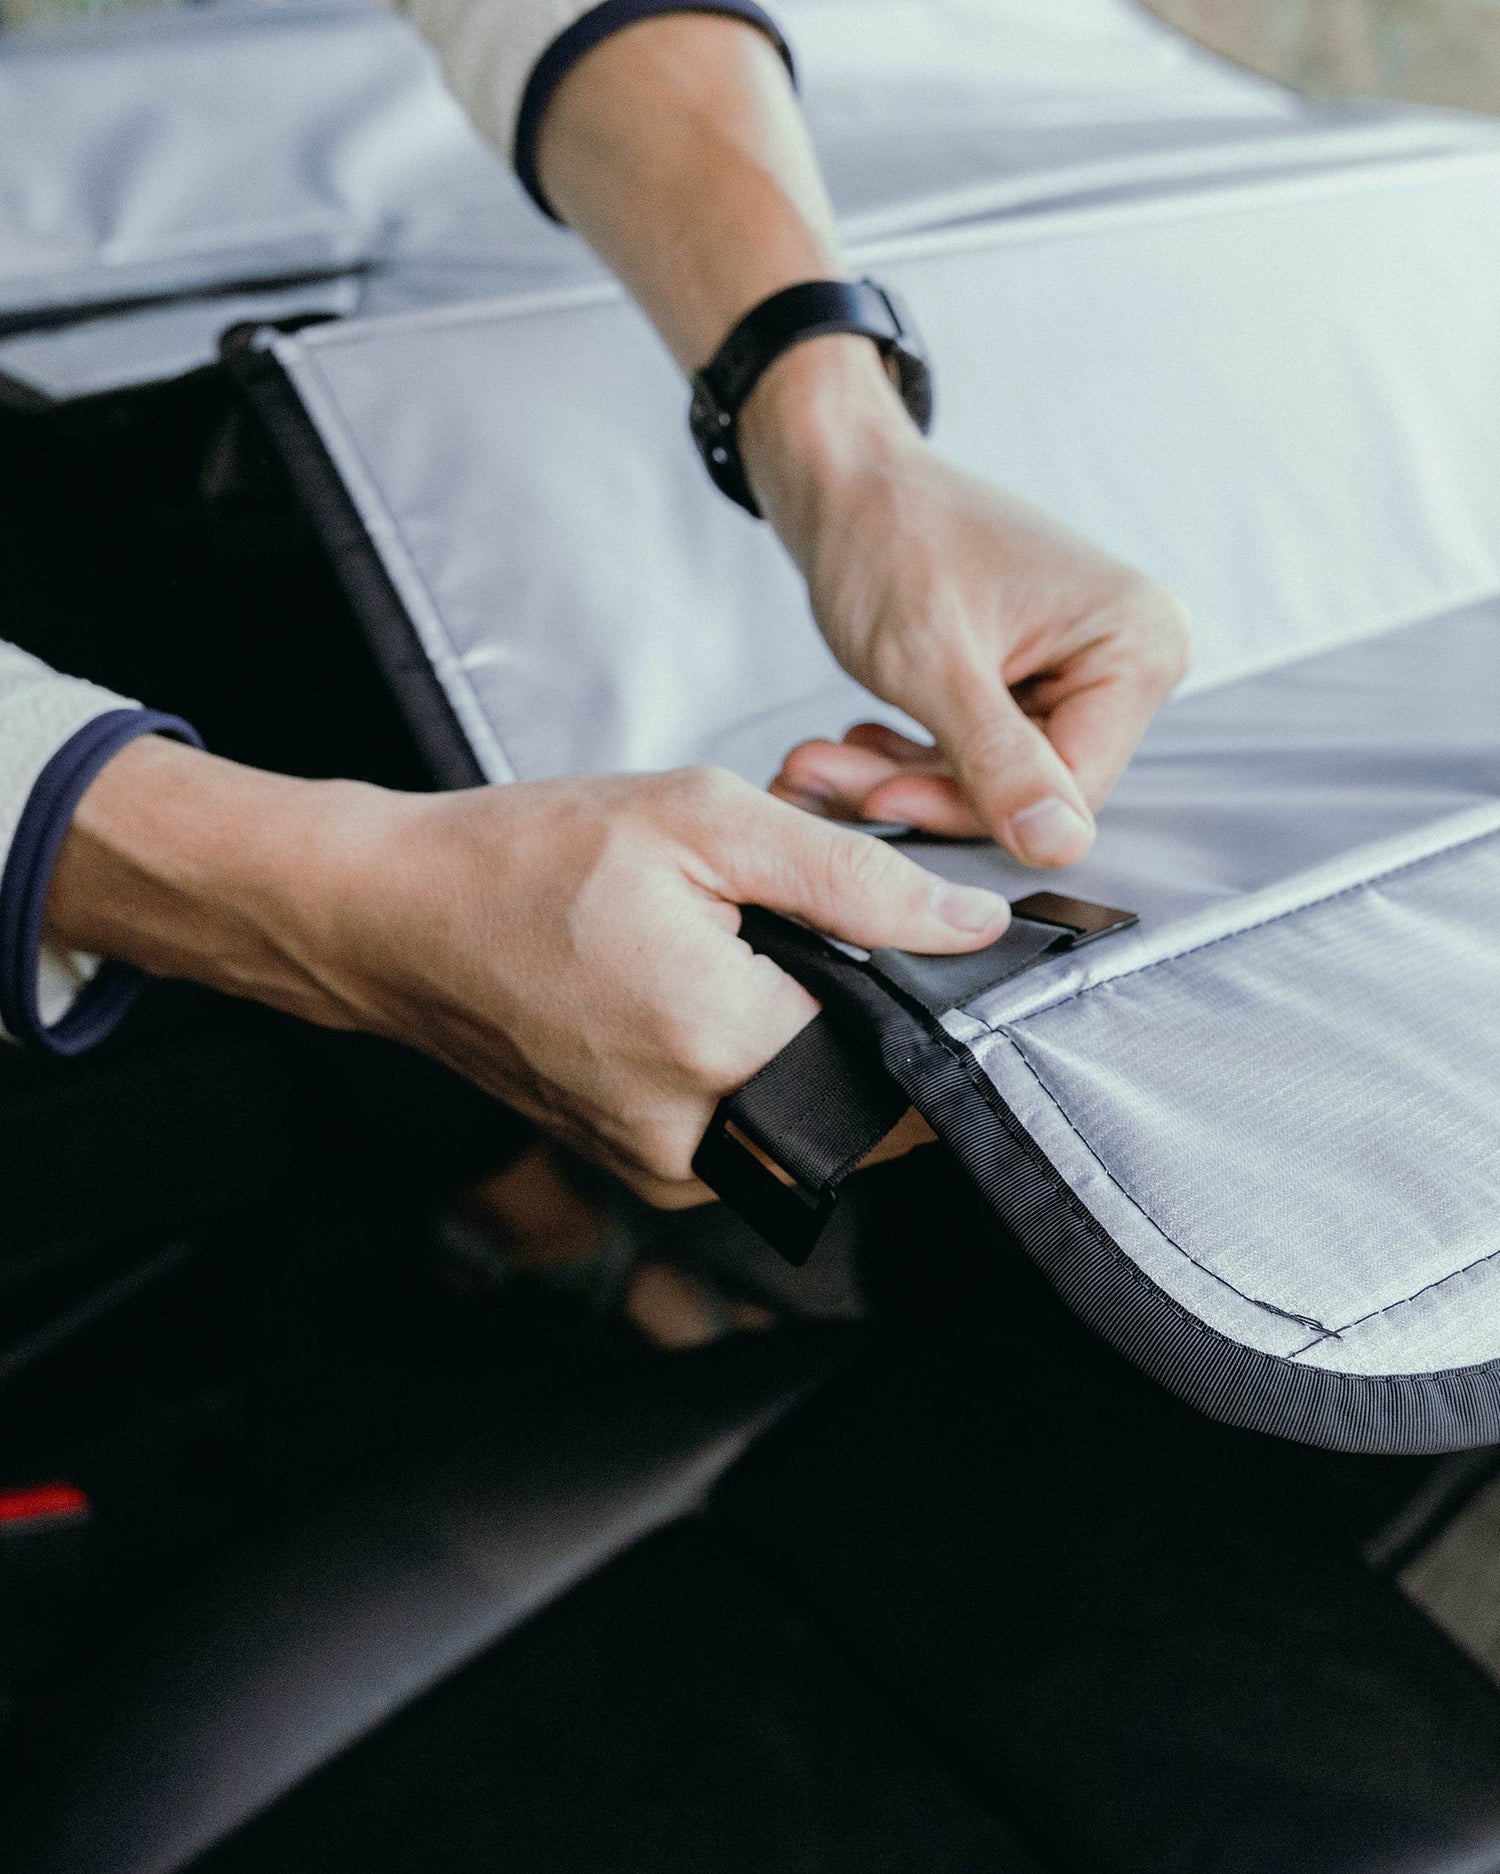
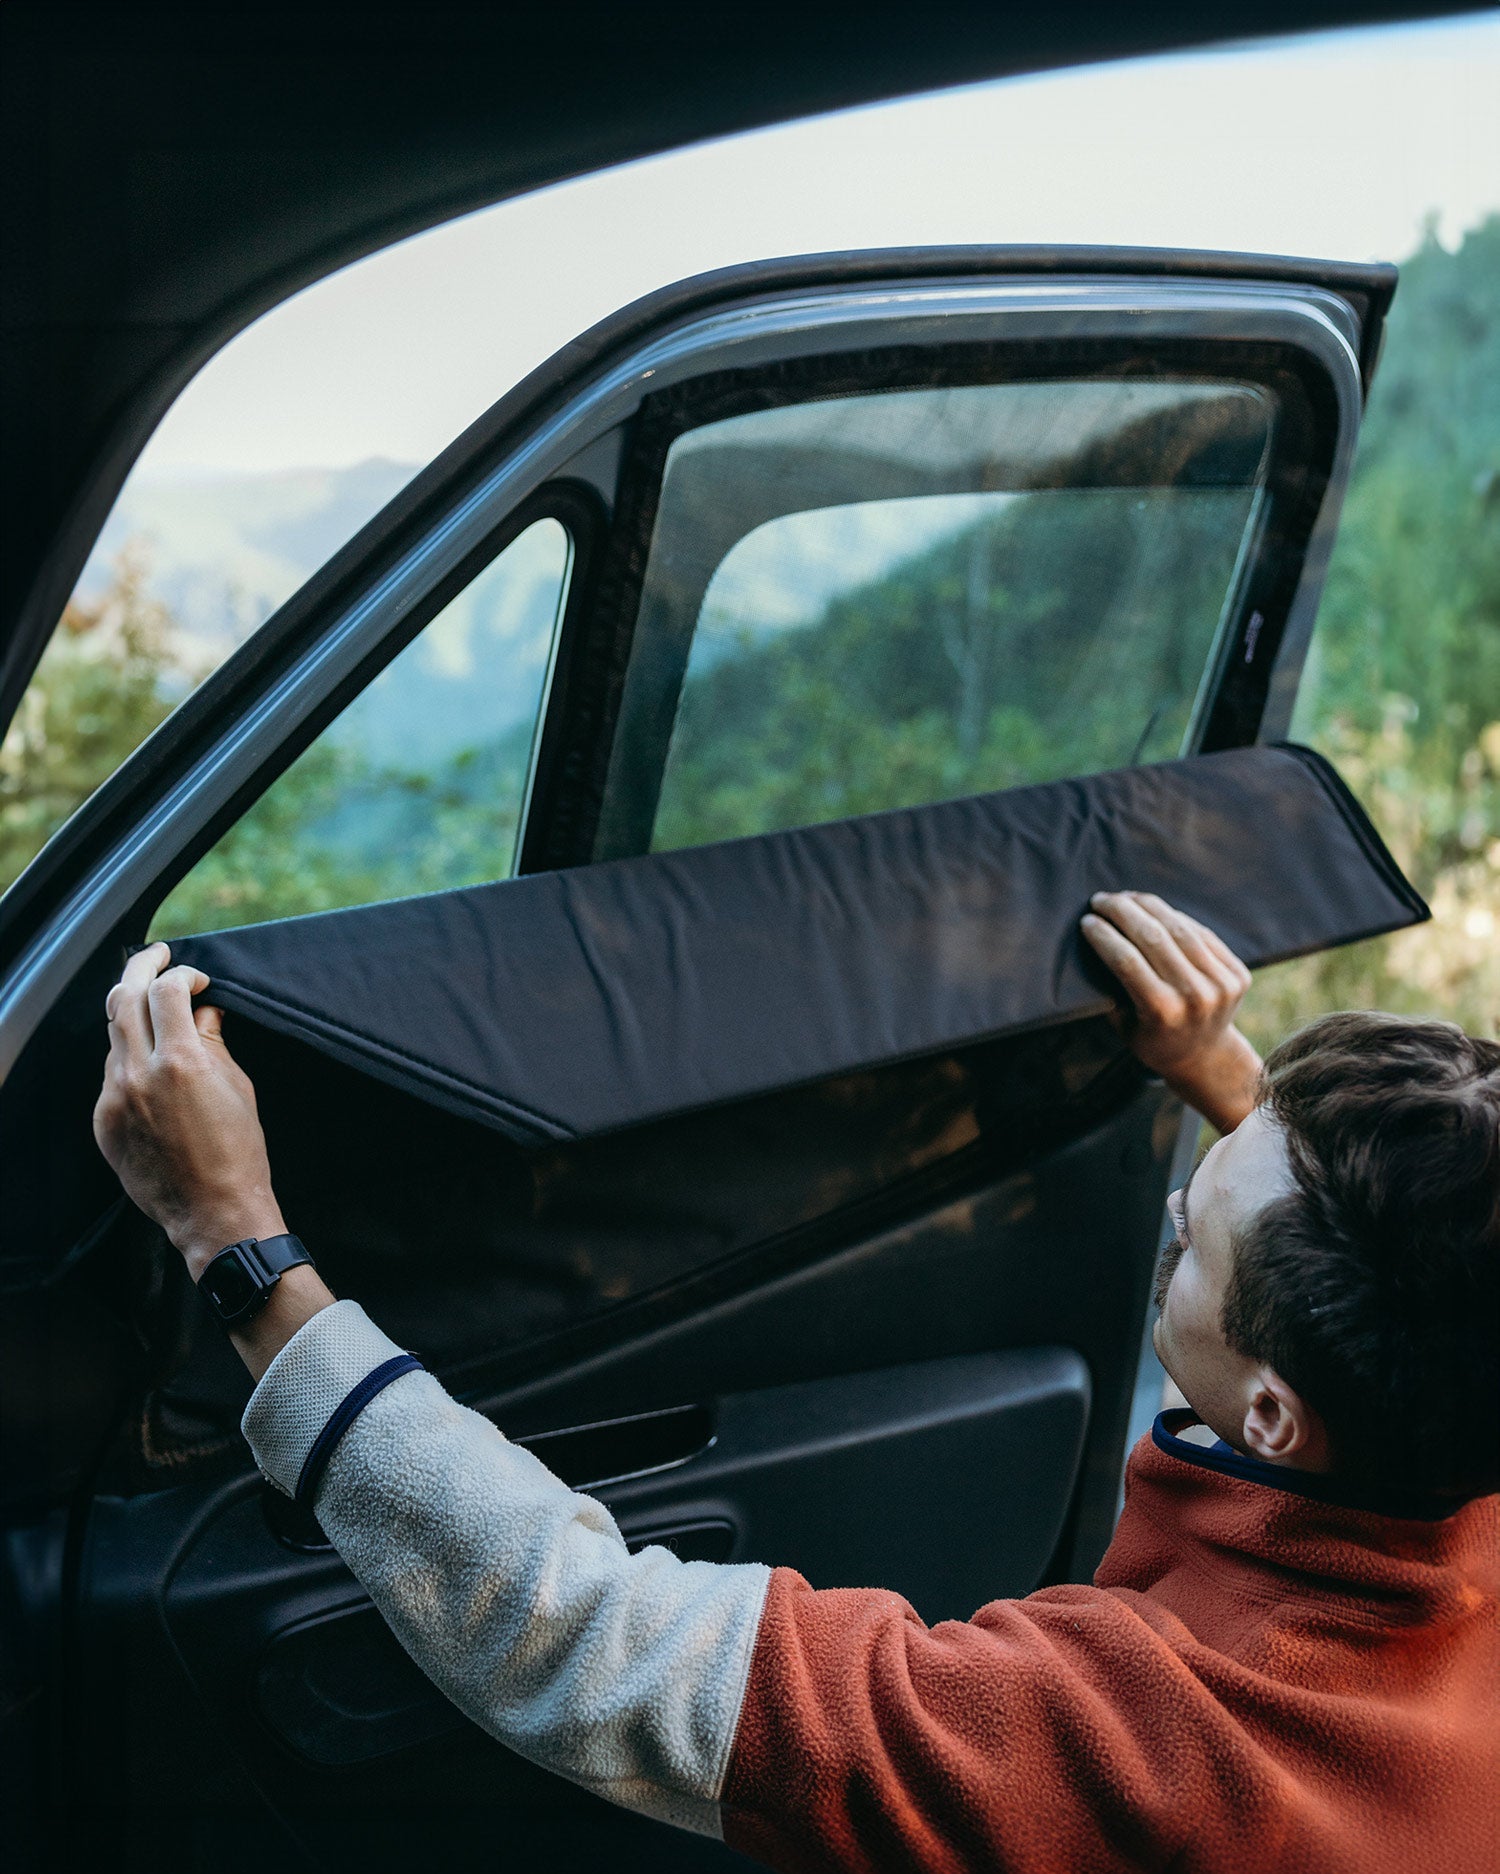
Seamless Installation
We believe in simplicity. Our shades are engineered for straightforward and secure mounting. Once installed, enjoy partial, quarter or a full roll-up, eliminating removal.


Find Your Installation Guide
Sprinter
How To Use Our Shades
You can click here to download the guide.
Front Window Guide
You can click here to download the installation guide.
Front Door Net Set Guide
You can click here to download the guide.
Windshield Mounting Guide (No Mirror)
You can click here to download the installation guide.
2019+ Rear Door Set Guide
Watch our installation video on the Vanmade Gear Youtube channel.
You can click here to download our installation guide for the full trim set.
Click here to download our installation guide for the half trim set.
1. Locate the pack(s) of metal clips in the package.
2. Identify where the clips need to go by holding shade up to window. Find the magnet locations inside the shade by feeling for them at the black edge binding surrounding the shade.
3. Carefully hook the short end of the clip under the plastic trim, then pull it tight against the panel. Repeat this step for all clips. If something behind the plastic trim is preventing the clip from mounting, mount it nearby and slide the magnet inside the shade to align with the clip.
4. Once all clips are mounted, your shade will magnetically stick to your window trim.
2019+ Rear Door Set - Zipper Series Guide
Click here to download our installation guide.
Revel Side Windows Guide
You can click here to download the installation guide.
Revel Nightstand Guide
You can click here to download the instruction guide.
Cab Partition Guide
Watch our installation video on the Vanmade Gear Youtube channel.
Ekko Side Windows Guide
You can click here to download the installation guide.
Storyteller Groove Lounge Guide
Watch our installation video on the Vanmade Gear Youtube channel.
Transit
How To Use Our Shades
You can click here to download the guide.
Front Window Guide
You can click here to download the installation guide.
Front Door Net Set Guide
You can click here to download the guide.
Ekko Side Windows Guide
You can click here to download the installation guide.
Crew Van Slider Door / Driver's Mid Panel Guide
Watch our installation video on the Vanmade Gear Youtube channel.
1. Locate the pack(s) of metal clips in the package.
2. Identify where the clips need to go by holding shade up to window. Find the magnet locations inside the shade by feeling for them at the black edge binding surrounding the shade.
3. Carefully hook the short end of the clip under the plastic trim, then pull it tight against the panel. Repeat this step for all clips. If something behind the plastic trim is preventing the clip from mounting, mount it nearby and slide the magnet inside the shade to align with the clip.
4. Once all clips are mounted, your shade will magnetically stick to your window trim.
Cab Partition Guide
Watch our installation video on the Vanmade Gear Youtube channel.
Transit Passenger Series Guide
You can click here to download the installation guide. Video coming soon.
Promaster
How To Use Our Shades
You can click here to download the guide.
Front Window Guide
You can click here to download the installation guide.
Front Door Net Set Guide
You can click here to download the guide.
2019+ Travato G Shade Guide
You can click here to download the guide.
Pre-19 Travato K Bed Shade Guide
Note: You will need a battery powered Philip's head screwdriver. Ensure your package contains the following:
- 2x Vanmade Gear shade for pre-19 Travato K bed windows
- Adhesive-backed Velcro (pre-attached to shade)
- 6x adhesive-backed metal tabs
1. Please note that removal of MCD roller shade is optional but will make installation of Vanmade Gear shade much easier, specifically along the top edge.
2. Prepare surface for mounting Velcro: clean window frame (where the screws are) and confirm that the entire frame is dry before starting
3. Velcro strips need to be applied to the LEFT, BOTTOM, and RIGHT edges of this window.
- Pick one end of your window frame to start with and remove the first screw
- Separate Velcro from the main shade and unpeel 5-6" of the backing (do not unpeel all of it at once)
- Based on where the corresponding Velcro on the Vanmade Gear shade will touch, stick Velcro to window frame, covering the first screw hole
- Put screw back into the hole, THROUGH the Velcro and then tighten screw.
- Continue along the rest of the edges, one screw at a time, unpeeling the Velcro as you go and replacing/tightening the screw after covering with Velcro. Do not remove all the screws at the same time, (they are designed to clamp the window to your van so we don't want that to fall out!)
4. Install 6 metal tabs across the TOP edge of window frame.
Thor Rize/Sequence/Tellaro/Scope Slider Door
Ensure your package contains the following:
- 4 strips adhesive steel (2 long, 2 short)
1. Clean your window and make sure it’s dry before proceeding and make sure temperatures are >=50°F.
2. Install the adhesive steel strips to top, side, and bottom edges of the glass (long strips on top & bottom, short strips on sides):
- 2A. Test fit and trim as needed.
b. Before unpeeling adhesive backing, position steel strip to the top edge of the glass. - 2C. Once in position, slowly remove backing by pulling it straight down while holding the entire strip against the window. The strips can overlap at the corners of the window, in order to hide all the raw edges of the strip. Repeat this for the sides and bottom.
3. You have now created a metal frame for the magnets in the shade to attach to, Attach your Vanmade Gear shade and enjoy!
Universal
Grenadier Safari Window Shade Instructions
You can click here to download the guide.
Roof Vent Cover Guide
You can click here to download the installation guide.
Click here to view our instruction video.
Metal Mounting Tabs Guide
You can click here to download the installation guide.